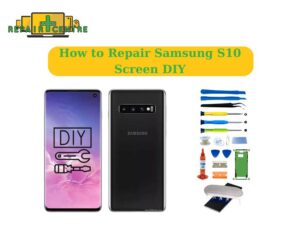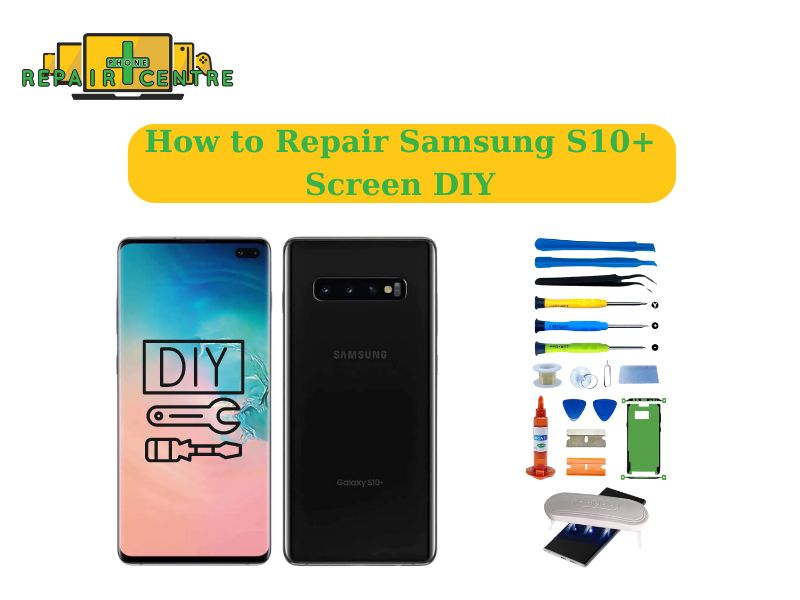
If you’ve dropped your Samsung Galaxy S10 Plus and face a faulty screen that hinders usability, don’t worry! With the right tools, replacing the screen can be a successful DIY project that saves time and money. This guide will provide comprehensive instructions on replacing your Samsung Galaxy S10+ screen while emphasizing the need for caution and precision during the process.
1. Tools and Materials Needed for Samsung Galaxy S10 Plus Screen Replacement
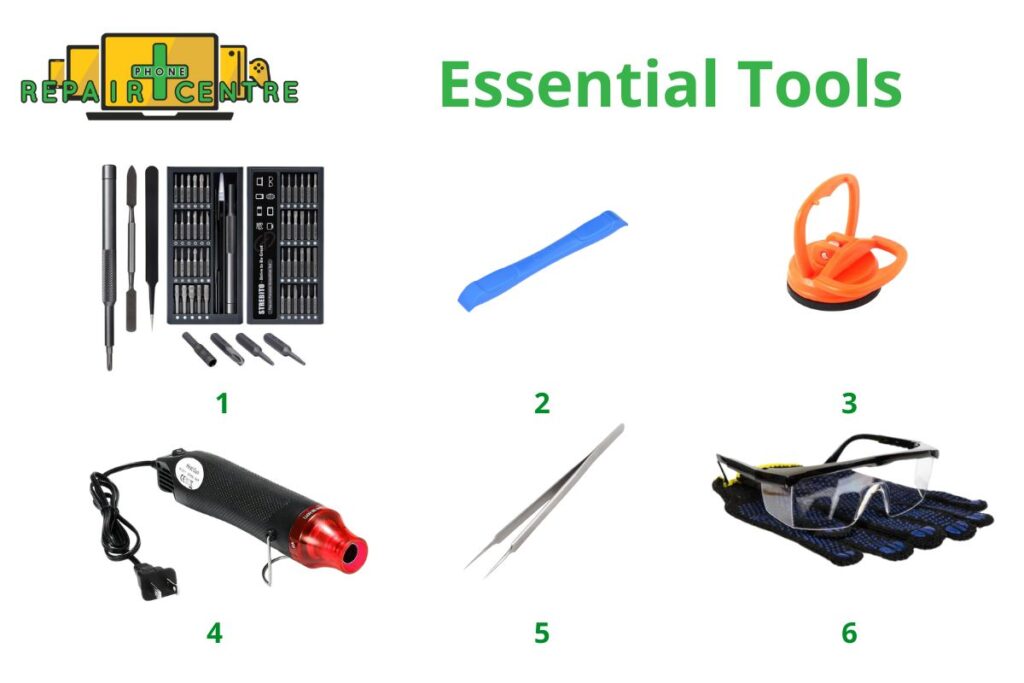
Essential Tools
- Precision Screwdriver Set: A set of tiny screwdrivers designed for delicate electronics.
- Plastic Opening Tool: A tool that allows you to safely pry open the phone without causing damage.
- Suction Cup: Helps in detaching the screen without causing cracks.
- Heat Gun or Hair Dryer: Softens the adhesive holding the screen.
- Tweezers: These are useful for handling the tiny connectors inside the phone.
- Safety Gloves and Protective Glasses: Protect yourself from sharp glass and other hazards.
Replacement Screen
When selecting a replacement screen for the Galaxy S10 Plus, choosing one compatible with the original Dynamic AMOLED display is crucial. Due to differences in technology, using LCD screens can result in problems such as decreased pixel density and poor color accuracy. OEM parts ensure the best fit and functionality with consistent brightness and touch responsiveness, but third-party options may offer a cheaper alternative. For optimal results, prioritize compatibility to maintain the screen’s performance and visual quality.
2. Safety Considerations Before Starting Screen Replacement
Power Off Your Device
Before working on any electronic device, always ensure the device is completely powered off to avoid accidental short circuits. Once powered down, disconnect the battery to further reduce the risk of damage to internal components during the repair process. This step is essential for protecting the device and the repair person.

Handle the Battery Carefully
Although the Samsung Galaxy S10 Plus has a non-removable battery, it’s crucial to disconnect it during any repair process. Leaving the battery connected while working on the device can lead to electric shocks or potentially cause damage to other internal components. Always take this precaution to ensure your safety and the integrity of the phone’s electronics during the repair process.

ESD Precautions
Electrostatic Discharge (ESD) is the sudden transfer of electricity between objects with different electrical charges, which can harm sensitive electronic components.
It’s important to be aware of ESD risks when working with electronics to protect devices. Use tools like an ESD wrist strap or anti-static mat to safely ground any static electricity, preventing circuit damage or disruption. Taking these precautions ensures the device’s and its components’ safety during repairs or handling.

3. Step-by-Step Guide to Replacing Samsung Galaxy S10 Plus Screen
There are 6 steps to replace Samsung Galaxy S10 Plus Screen:
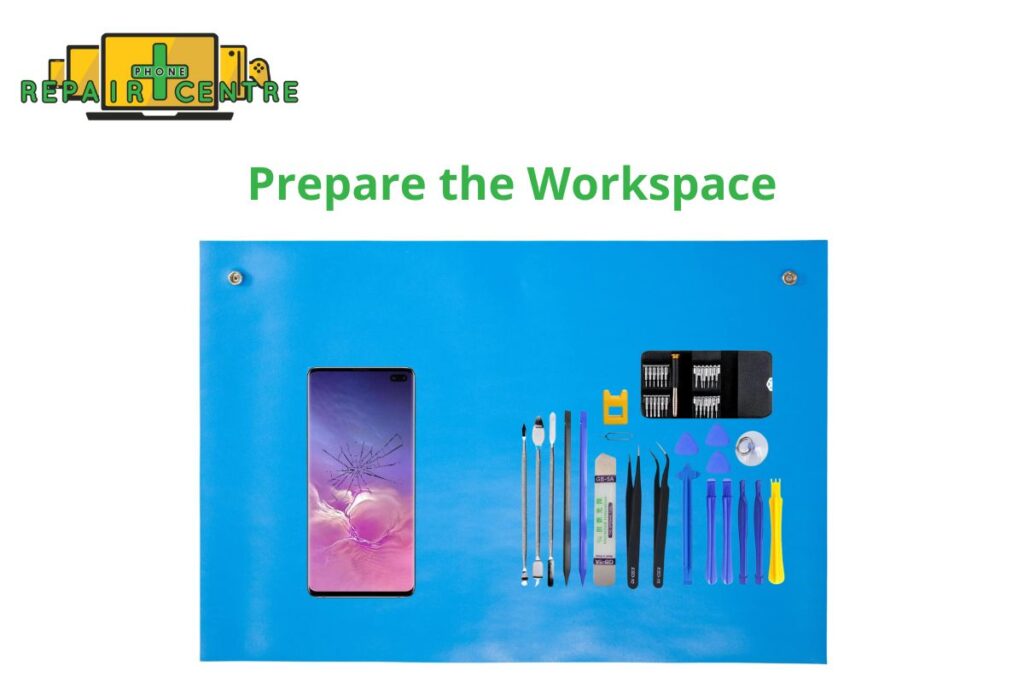
Step 1: Prepare the Workspace
Before starting, make sure to set up a clean, well-organized workspace that is free from dust or static. Using an electrostatic discharge (ESD) mat is important to avoid any potential damage to the phone’s internal components. Lay out all necessary tools, such as a precision screwdriver, plastic opening tool, heat gun, suction cup, and new adhesive strips, to ensure easy access during the repair.
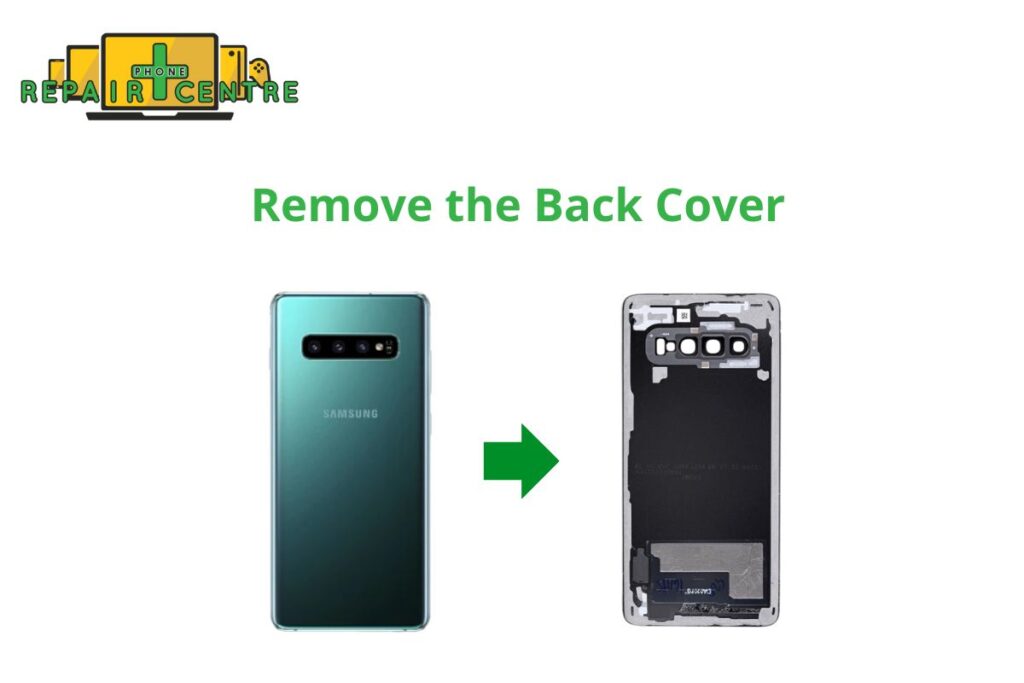
Step 2: Remove the Back Cover
Begin by heating the edges of the Galaxy S10+ back cover using a heat gun or hairdryer. This will soften the adhesive holding the cover in place. Use the plastic opening tool to pry under one edge of the back cover gently. Once you have created a small gap, carefully work around the perimeter, applying heat as needed to loosen the adhesive further. Be patient and avoid using metal tools, which can scratch or damage the device. Once the adhesive is sufficiently loosened, gently lift off the back cover.
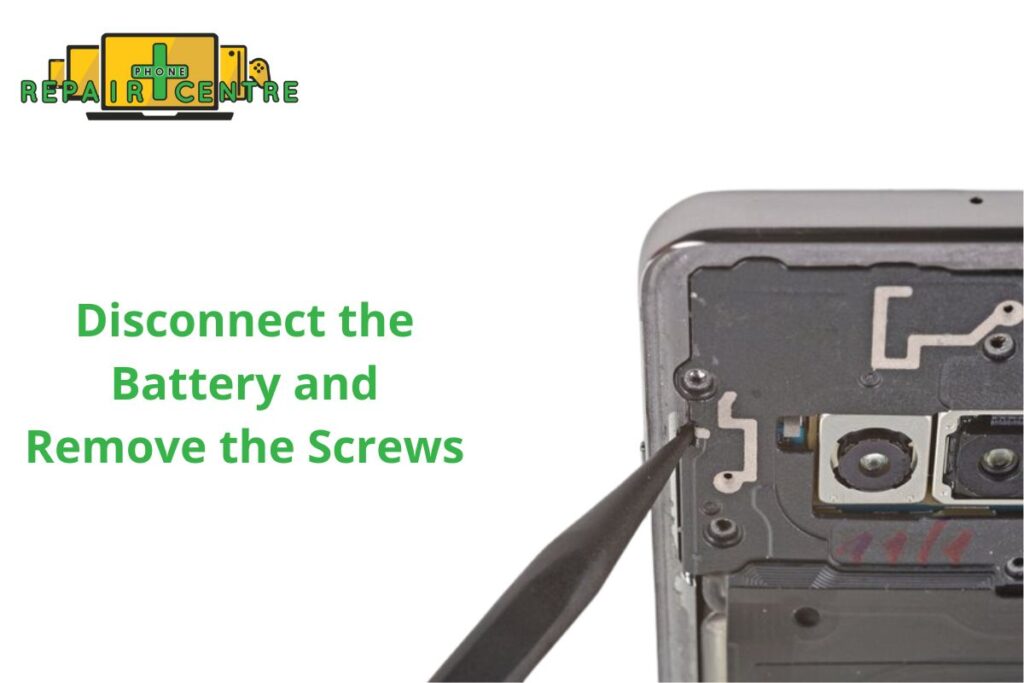
Step 3: Disconnect the Battery and Remove the Screws
With the back cover removed, locate the screws securing the internal components of the phone. Using the precision screwdriver, unscrew each one, keeping track of where they go. Next, disconnect the battery by gently lifting its connector with a plastic spudger tool. This step is crucial to avoid short circuits or potential damage to the phone’s motherboard.
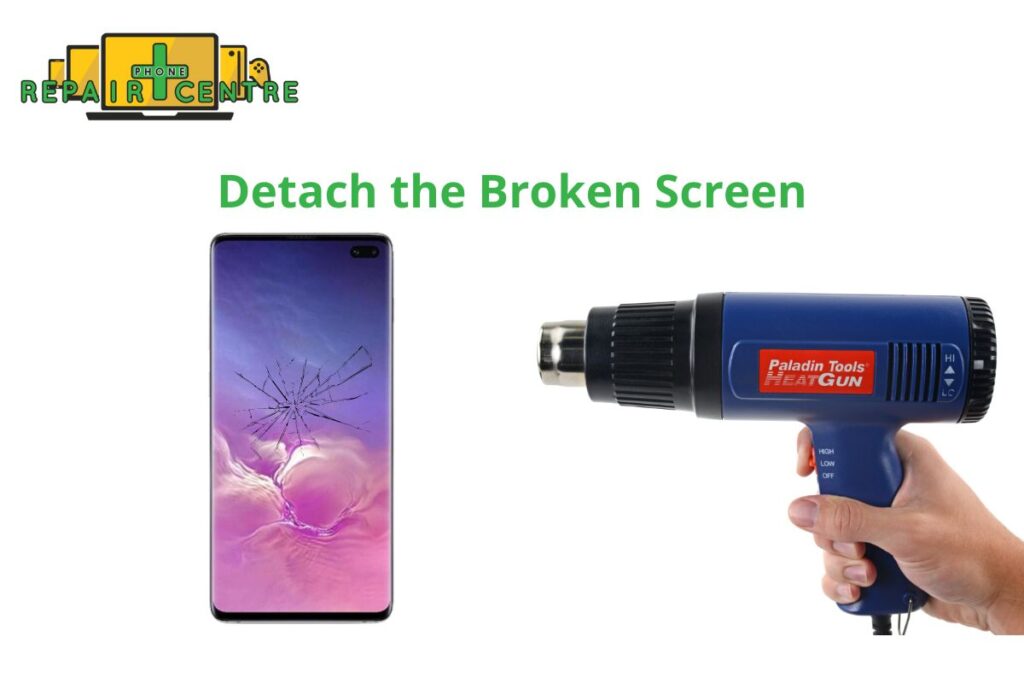
Step 4: Detach the Broken Screen
Heat the front of the device, especially around the edges of the screen, to soften the adhesive and secure the broken display. Once heated, use a suction cup to lift the display slightly. Carefully insert the plastic opening tool to separate the screen from the phone’s frame. While pulling the screen away, be cautious of the flex cables connected to the motherboard. Disconnect these cables gently before fully removing the broken screen.
Note: For a seamless experience and guidance on replacing your screen, consider professional support through our Samsung Galaxy S10 Plus screen replacement service.
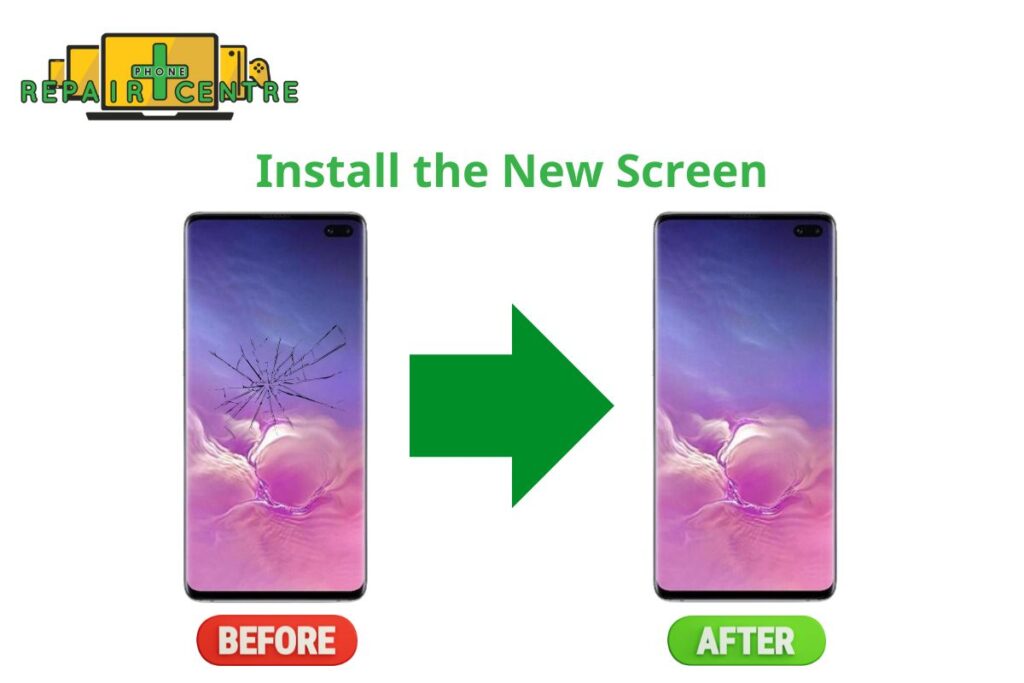
Step 5: Install the New Screen
Position the new screen correctly over the phone’s frame. Reattach the flex cables to their respective connectors on the motherboard. Ensure the connections are firm but handle them carefully to avoid damage. Once everything is aligned and connected, press gently on the screen to allow the adhesive to set properly. Apply light pressure along the edges to ensure the screen fits securely.
Step 6: Reassemble the Phone
Reinstall the screws you previously removed, ensuring they are securely tightened but not over-tightened. Reconnect the battery and verify that all components are correctly positioned. Before sealing the device, apply new adhesive strips around the edges of the back cover. Press the cover back onto the phone and apply even pressure until it is fully secured. Finally, power on the device to test the new screen, ensuring it functions properly and is responsive.

4. Testing and Troubleshooting After Screen Replacement
Testing the New Screen
Once the phone is back together, power it on and verify that:
- Touch sensitivity is fully restored.
- The screen brightness and pixel density match the original display.
Common Issues and Solutions
- Screen flickering: Check if all connections are firmly in place.
- Unresponsive touch screen: Recheck the connector and ensure it’s seated properly.

5. Tips to Avoid Needing a Screen Replacement in the Future
To avoid needing a screen replacement for your Samsung Galaxy S10 Plus, it’s important to take several preventative measures. First, use a high-quality tempered glass screen protector to shield your display from scratches, cracks, and other potential damage. Pair this with a sturdy phone case to help absorb shock in case of accidental drops.

Next, be mindful of extreme temperatures. Both excessive heat and cold can weaken the screen over time, so try to avoid exposing your phone to such conditions. Handle your phone carefully, avoiding risky placements where it could easily fall or be knocked over. Additionally, make it a habit to regularly clean your screen with a microfiber cloth to remove dust and debris that can cause scratches.
Although the Galaxy S10 Plus is water-resistant, limiting water exposure is still wise, as internal damage can indirectly affect the screen’s performance. Lastly, avoid placing your phone in your back pocket, where sitting on it can cause unnecessary pressure and lead to screen damage.
By following these steps, you can minimize the risk of needing a screen replacement and ensure your phone’s display lasts longer.
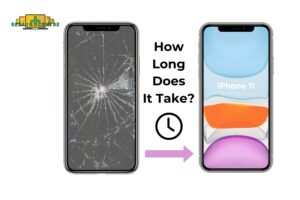
6. Comparing Screen Replacement Options: DIY vs Professional Service
| Option | DIY Replacement | Professional Service (Phone Repair Centre) |
| Cost | $100 – $150 | $355 – $390 |
| Time | 1-2 hours (depending on experience) | 1-2 hours (depending on the shop’s workload) |
| Warranty | None (unless using a warranty-approved part) | Lifetime guarantee |
| Risk | Higher risk of damaging other components | Minimal risk (handled by trained professionals) |
Several key factors come into play when deciding between DIY screen replacement and professional service.
If you’re tech-savvy, have experience repairing electronics, and work on an older or less expensive device, the DIY route might be appealing. This approach can save you money and provide a sense of accomplishment. However, it requires time and effort and risks damaging your device if not done correctly.
On the other hand, if you own a newer, more expensive device, lack technical skills, or prioritize guaranteed results, opting for professional Samsung screen repair is the safer choice. Experts have the experience and specialized tools to perform the job efficiently, often providing a warranty. Although more costly, this option offers peace of mind and minimizes the risk of further device damage. Authorized services help maintain your device’s warranty—a crucial consideration for devices still under coverage—and save you time and potential frustration, even if you may be without your device briefly during the repair process.
Ultimately, your choice depends on balancing factors like your technical ability, the value of your device, your budget, and how much you prioritize guaranteed results. Consider these aspects carefully to make the best decision for your specific situation.
7. FAQs
Is it cheaper to repair the screen myself or get it repaired by a professional?
DIY repair is generally cheaper than taking it to a professional service. However, if you’re uncomfortable with the risk of damaging other components, professional repair may offer better peace of mind, as they provide a warranty.
What are the risks of replacing the screen myself?
The biggest risks include damaging the flex cables, scratching the internal components, or improperly applying adhesive, which could cause the screen to loosen over time.