
If you’ve been using your iPhone for a while, you probably already know how to transfer photos to your PC. However, if you are looking for a more detailed explanation, the following Repair Center Vic will talk specifically, read on to learn about the methods.
1. Using File Explorer to transfer photos from iPhone to PC

iPhone users can easily transfer photos and videos from their phone to a Windows computer using File Explorer, without any additional charges. Follow these steps:
Step 1: Connect your iPhone to your computer using a Lightning cable and select “Trust” on your iPhone when prompted.
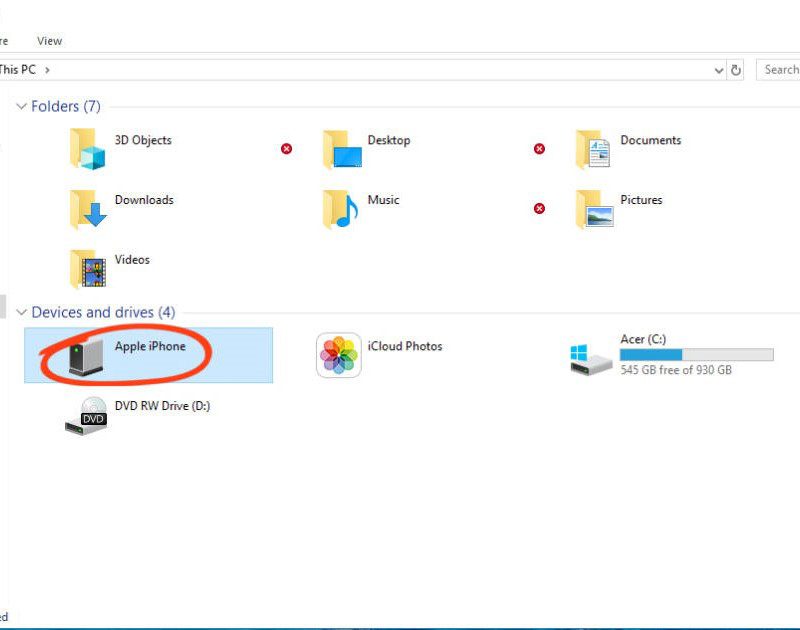
Step 2: Once the connection is established, open File Explorer and select “My Computer” and then select “Apple iPhone.”
Step 3: Click on “Internal Storage” in this section.
Step 4: Navigate to the “DCIM” folder containing the photos you wish to transfer and select them.
Step 5: Right-click on the selected photos and choose “Copy.”
Step 6: Open the destination folder on your computer and right-click to select “Paste” and complete the transfer of photos from your iPhone to your PC.
2. Transfer photos from iPhone to PC – about Windows
If you have a Windows 10 laptop, you can easily transfer photos from your iPhone by connecting it to the USB port. Follow these steps:
Step 1: Connect your iPhone to your laptop using a USB cable. Open the Windows search folder and enter “Photos” to find the Photos application.
Step 2: Click on “Import” and select “From a USB device.”
Step 3: Choose the photos you want to transfer to your laptop and then select “Import Selected” to complete the conversion.
3. Transferring iPhone photos to your laptop using iCloud
Apart from using 3uTools, Windows computer users can also use iCloud to sync all photos from their iPhones to their computers. This method is free and does not require any additional downloads to the device. However, users must first back up all photos on their phones to iCloud before transferring photos from their iPhones to their computers using iCloud Photos. Follow these steps:
Step 1: Open a web browser on your computer and go to iCloud.com. Enter your Apple ID and password. If your iPhone has two-factor authentication, allow it and enter the 6-digit PIN displayed on your iPhone to your computer.
Step 2: Select the Photos application icon on your computer.
Step 3: Choose the photos you want to download and click “Download” to transfer them from your iPhone to your computer.
4. Transferring iPhone photos to Macbook with Airdrop
If you have a MacBook, you can transfer photos from your iPhone using AirDrop. Follow these steps:
Step 1: On your MacBook, open Finder and select AirDrop, then click “Everyone.”
Step 2: On your iPhone, go to Settings, click “General” and select AirDrop. Then, select “Everyone.”
Step 3: In the photo folder on your iPhone, select the image you want to copy to your MacBook and click the “Share via AirDrop” icon.
5. Copying photos from your iPhone to your MacBook using the Photos app

Copying from iPhone to Macbook with Photos requires you to update the operating system version from iTunes 12.5.1 or higher and connect iPhone to the laptop via a USB cable.
Step 1: Select “Trust your Mac” on your iPhone. For a Macbook computer, open “Photos” from LaunchPad.
Step 2: Select the “Import” tab on Photos >> click on the photos you want to transfer >> select “Import Selected” or “Import All New Photos” to import all images.
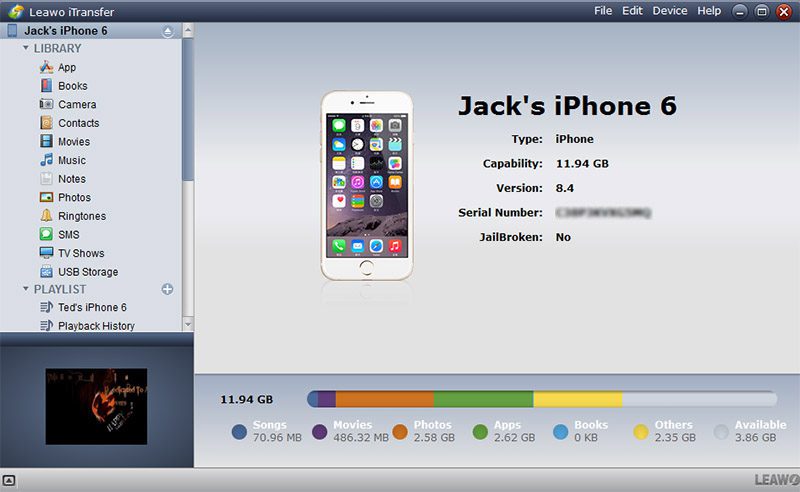
6. Use photo transfer software from iPhone to PC
In addition to the methods mentioned above, there are various software and applications that can assist in transferring and converting images from iPhone to the computer. Simply download and install the latest version of iTunes or any other photo transfer software onto your computer, and follow the given instructions.
Step 1: Connect your iPhone to the computer via a USB cable, and allow permission for the computer to access photos.
Step 2: Access the Apple iPhone device path through My Computer or This PC on your computer and locate the DCIM folder under Internal Storage, followed by 100APPLE.
Step 3: Copy all desired photos onto the computer, and right-click to complete the transfer process.
However, if you face any difficulties or do not wish to risk installing third-party applications on your devices, you can visit a Repair Center for secure and prompt assistance. We hope these tips have been helpful in transferring photos from iPhone to PC. Best of luck with your image conversion!